How To Start Your Own Seeds
I really enjoy starting my vegetables and herbs from seed. Every time I see that first sprout coming up I feel like I am seeing a miracle. In a way it is. In just a couple of months that little sprout is a huge plant with tomatoes, squash etc… that we eat! It also is a good way to ensure I start with strong all organic plants. Not to say I don’t sometimes end up with a problem here or there. I do start with organic seeds and I save all my own seeds that I can. Some things are harder to start from seed and get a healthy seedling. Some things I propagate. Seed catalogs and the packets usually have a lot of useful information on them. Most, even my seed packs do not go into as much detail as I have here. Starting strong, healthy seedlings is very important; the more information the better!
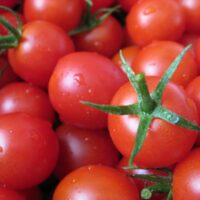
One reason we start the seeds inside or in a greenhouse is germination temperatures and growing temperatures. When it is time to start seeds it is usually too cold or too hot depending on season for them to germinate and grow properly. By using heating pads and controlled room temperature we can accommodate the different temperatures needed. Another reason is to get a head start. Vegetables like peppers, tomatoes and eggplants have a long growing season. By starting them indoors they are ahead by 4-6 weeks and have a much better survival rate when planted out as transplants. One more reason is again temperature, but not for germinating, for growing. If it too hot or cold the seedlings can be stunted or die.
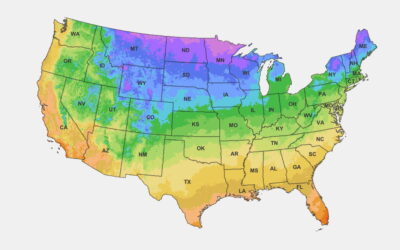
The time to start your seeds is about 4, 6, or 8 (depending on type) weeks before your planting out date. The planting out date here in West Central Florida for Spring crops is March 1st- 15th for most crops. Fall planting out date is mid August – September for most. Use the Florida Planting Guide for individual crop dates.
What you need:
- Seed starting kit, or small sterile containers about 2-3″ with holes in the bottom for drainage.
- Sterile Seed starting mix for cells or containers. Tray with lid.
- Heating pad (if necessary). Fluorescent light or any type of light, optimally one that you can adjust the height, or sunny window.
- First wet down the seed starting mix, I find it easier to get the mix wet then put it into the containers or cells. If using peat rounds add water till expanded. Fill containers with moistened mix, tap to even out. Do not pack tightly. Place containers, rounds, cells or pots into a tray. Add seeds usually 2 or 3 in each twice the depth of seed. Barely cover small seeds with starting mix, more for larger seeds.
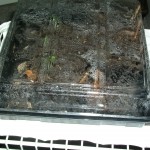
- Place lid on tray. If seeds require a warmer temperature to germinate place tray on a heating pad, germination mat or top of the refrigerator. I lay a thermometer on the heating pad to check for proper temperature and adjust if needed. Some seeds like peppers and tomatoes like bottom heat for germination.
- At first sight of growth remove lid to prevent mold, stretching and disease. If the soil is too wet it can cause damping off disease. If seedlings get too warm or not enough light they will be spindly and weak.
- Place tray under fluorescent light 2 inches above tray this will ensure strong roots and prevent the plants getting to leggy, adjust the light as needed to 2 ” above as they grow. A sunny window is ok, but not optimal.
- Keep moist by spraying with a spray bottle or water into the bottom of the tray, the water is drawn up so as not to disturb the seeds. Misting the tops with a spray bottle is usually enough water if initially wet to sponge like consistency.
- Once the seedling have 2 or more leaves fertilize half strength with hydrolyzed fish or fish kelp fertilizer..
-
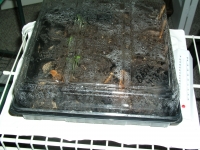
- Seed Starting Tray with Lid
-
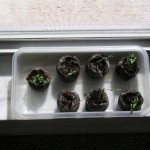
- Seed Starting Rounds
-
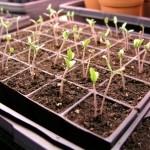
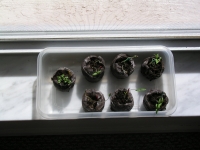
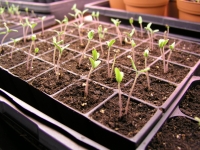
- Seeds Sprouting
-
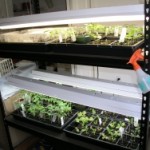
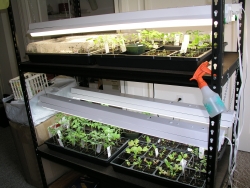
- Seed Starting Shelves
When to transplant depends on the size of the container they were started in. If started in a 2-3″ or smaller container transplant when they have a few sets of leaves to a container larger and deeper than what they were in burying the plant deeper each transplant. Begin fertilizing weekly at full strength. They need to be transplanted again in about 2-4 weeks if the weather is not right to plant out.
Plant Out when outside temperatures are in the mid 50’s. Start by bringing outside in a shady location for a few hours a day for a couple of days then 2 or 3 full days. Then gradually move them into full sun starting with mornings, then all day. When they seem well adjusted, plant them in the garden in the late afternoon or cloudy day to minimize stress on the plant. Fill hole with water and a handful of compost. Pack firmly and water in. Fertilize weekly at full strength, water as needed and side dress with compost as needed. Mulch with hay or other to keep in moisture and prevent dirt from splashing on stems which cause disease.
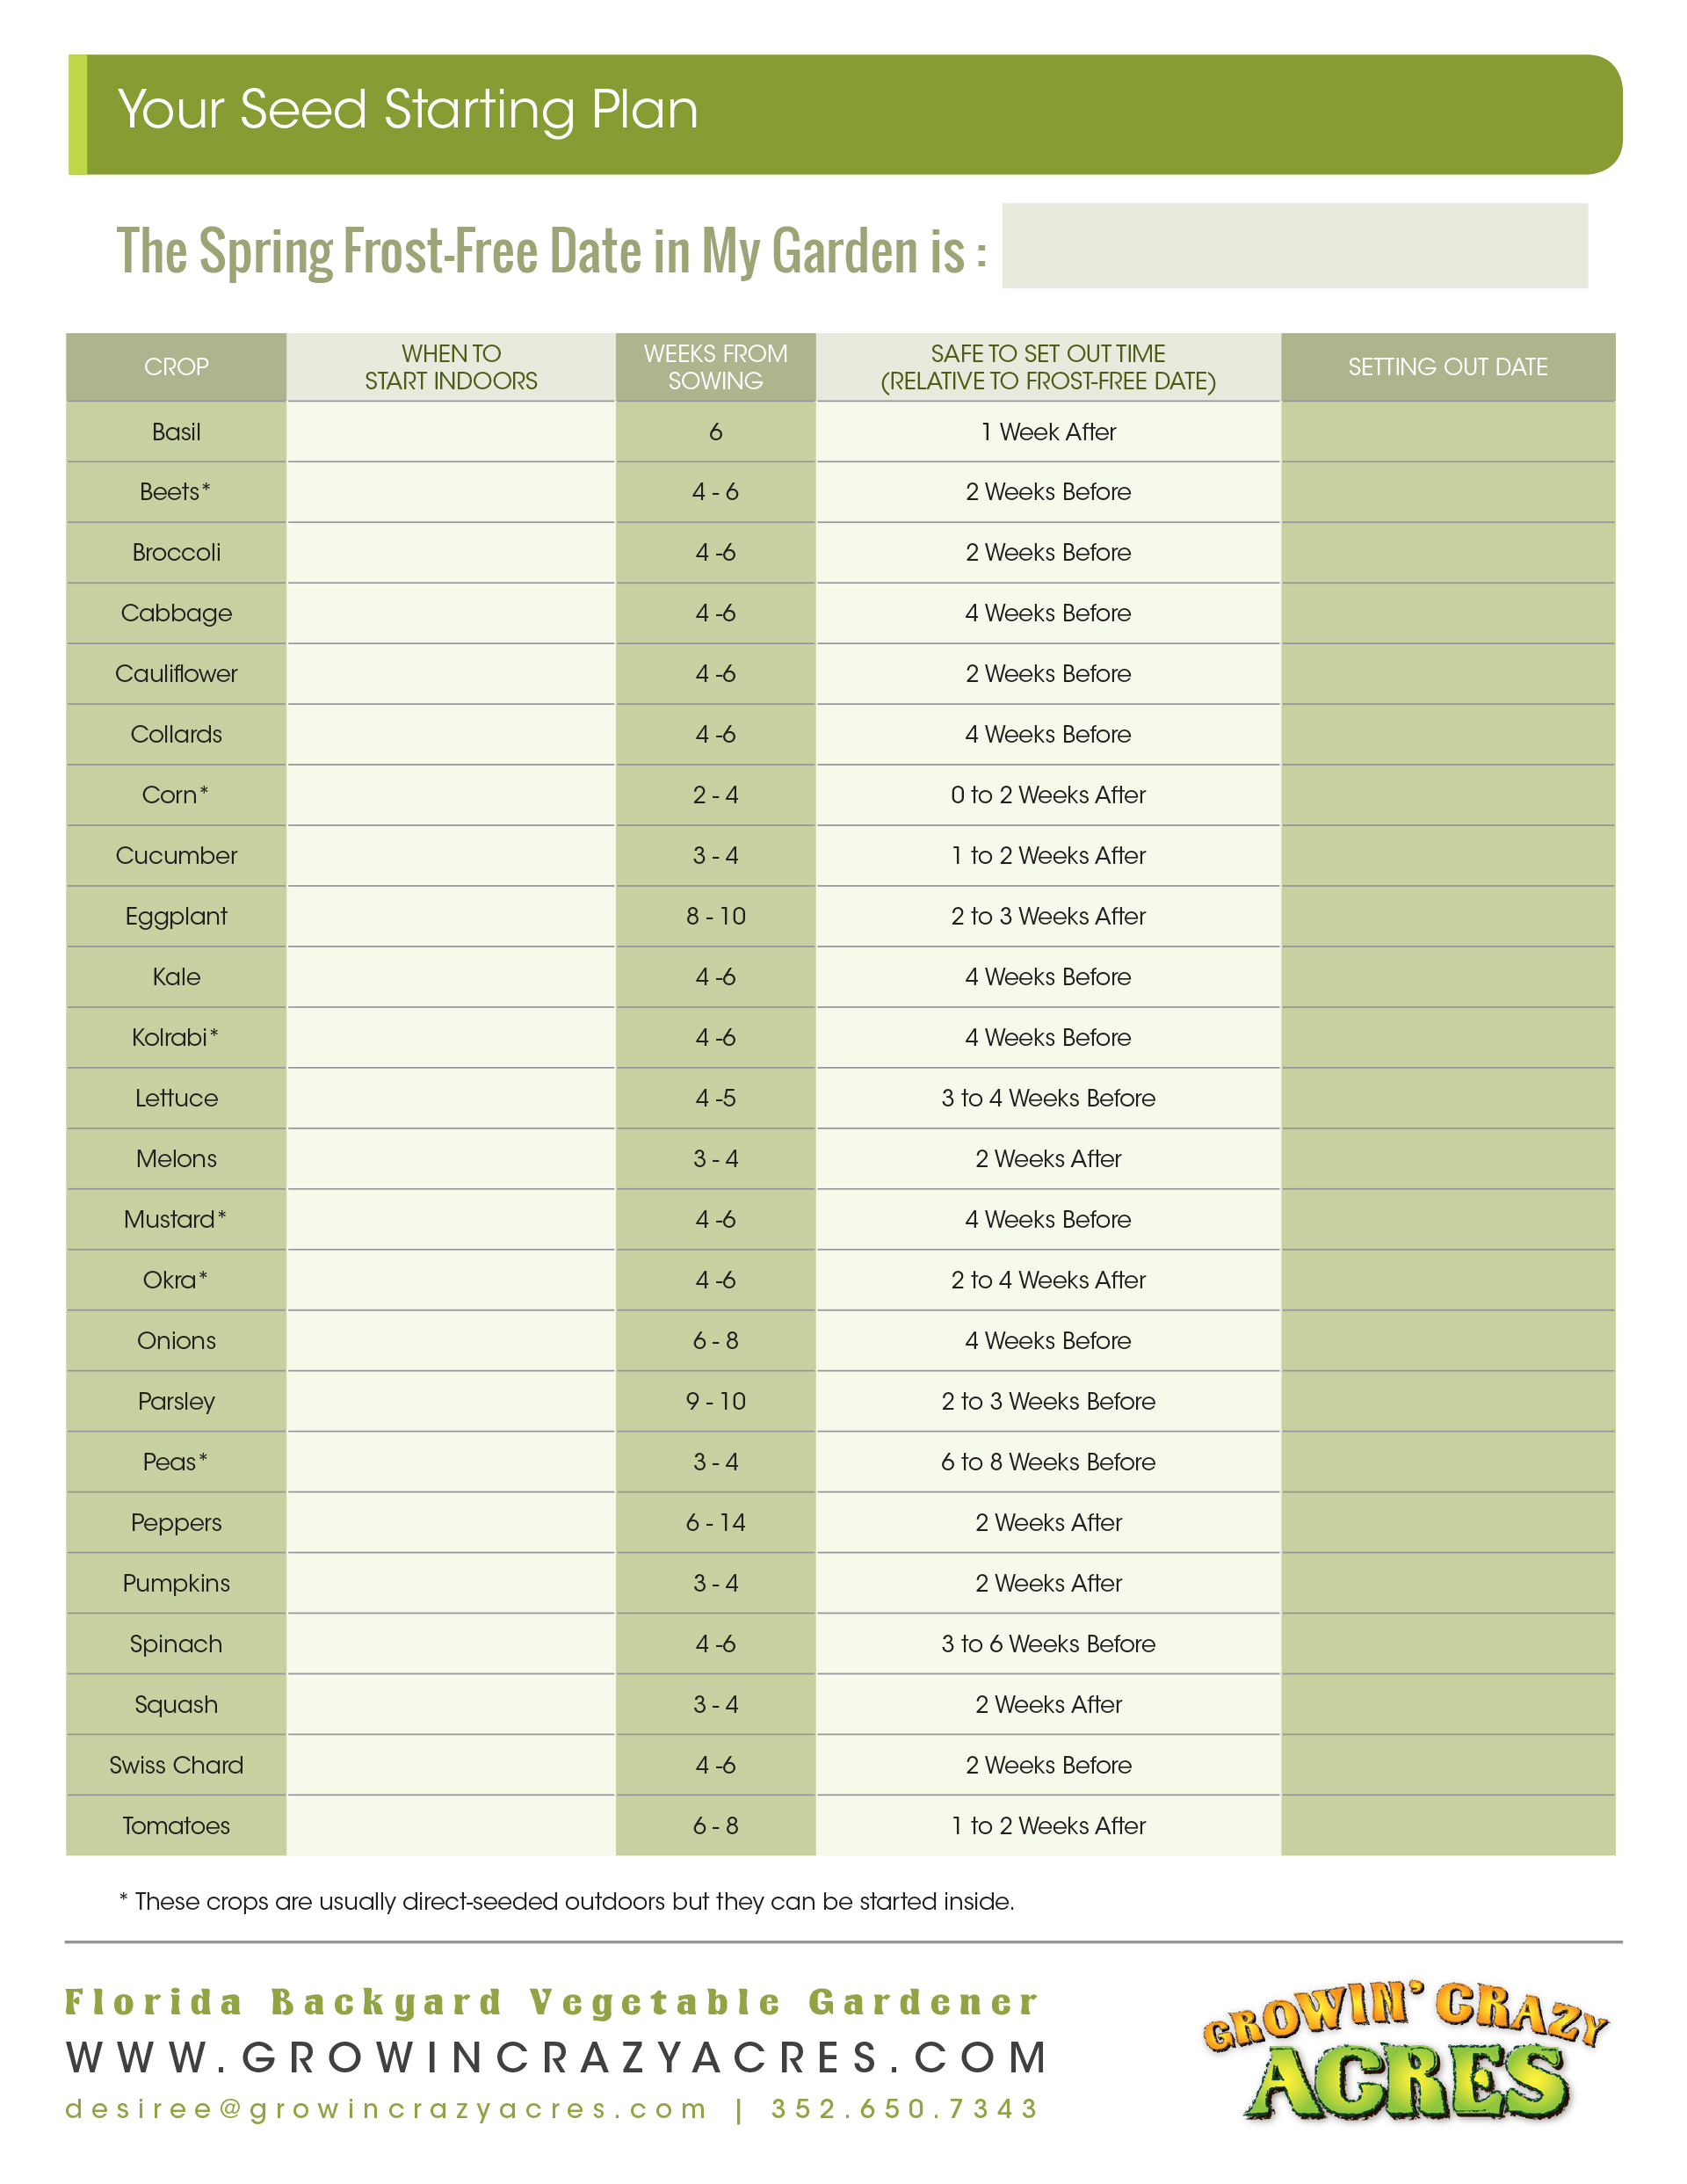
Seed Starting Planner
I find it very helpful for planning my starting and planting out dates. See my Florida Planting Guide where the dates are figured for most vegetables.
How to use the Seed Starting Planner:
- Fill in “Frost Free date” (date of last frost)
- Add or subtract “Safe to Set out date”
- Write in “Setting out date” column
- Then subtract “Weeks from Sowing” from that date and that is your “When to Start date”
0 Comments